What I did this time is use a cardi, Retro Peplum, designed by Ann Budd as inspiration to create a pullover.

Ann Budd’s directions, just like Doris Chan, can be a real head scratcher until you finally get it. Then you wonder what all the crying was for, it’s all pretty cool and easy to follow.
While taking a look at the Retro Peplum, I had to read
several times to make sure I was clear on the starting point. Having never created a saddle shoulder top,
let alone top-down, I was intrigued. Ok,
create the two saddles (rectangles) cutting yarn and securing with a stitch
holder. Got it, set aside and wiggle my toes happily as I move on to the next
step.
Hmmm, lets read that again…and again…and one more time for
good measure. Oooooook, now I’m on
board!
- Start at the end where
I just finished knitting (live end).
Work to the other end where I began (cast on end) picking up 26
stitches. I only had to find a way to sneak in two extra stitches because I
neat edges gave me 24 stitches. I was careful to pay attention as I slipped the
first stitch of every row creating my selvage.
- Cast on 42 stitches using the Knitted CO which happens to
be my favorite CO. Now started at the opposite end of the second saddle, pick
up 26 stitches ending at the live end this time. There should be 94 stitches.
Whew got through that and it’s time for shoulder shaping.
Shoulder shaping is simple k2, p2 until the next row when short-rows start.
OMG, why do short-rows make me so nervous! It’s actually not the w&t but
the pick up on the return that gives me trouble.
Rows 1 and 2, wrap&turn, no problem. Remember you are going all the way across to
the opposite shoulder (saddle) for the first w&t. Rows 3 and 4 pick up the w&t and then do ANOTHER W&T. Rows 5 and 6, pick up the last w&t and
knitted in pattern to the end of the row.
Yeah! All w&t’s done. On the
next part of the adventure. Simple 2x2 ribbing until piece measure 4” from pick
up stitches at saddle NOT center
back.
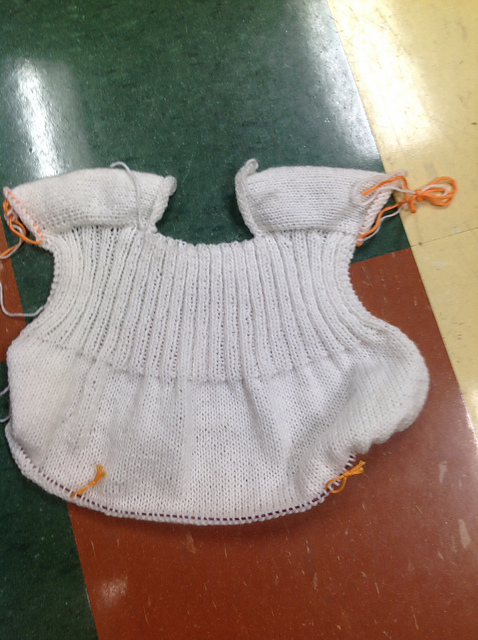
After I finished all the back ribbing, picking up the stitches and doing the same on the front halves with two skeins of yarn was easy. I chose to work with dpn's instead of trying to keep the yarn from getting tangle using circulars. This made life so easy for me and helped me get the fronts done much faster, IMO.
Introducing another color to create my first stranded pattern was fun. I found a pattern for a pair of mittens that had the look I was trying to achieve. I used that pattern and added a few extra rows of my own for a different look. I wish I had repeated the whole series again for a wider band, I really love how it came out. I fought the urge since I don't have that much white yarn, I have to reserve some for my sleeves where I'll be repeating the pattern transition.

I made sure to take my time and sketch out my grid for the pattern so I can have the exact same pattern on my sleeves. I thinking of doing an icord neck with ties to finish it up for a causal look.
Keep stitchin'
No comments:
Post a Comment